Filler through the hood - not so big of a deal

For those who couldn't care less how their 356 left the factory!
Message
Author
User avatar
Dirk Heinrich
356 Fan
Posts: 571
Joined: Wed Sep 03, 2008 12:44 am
Location: Pasadena, CA

Filler through the hood - not so big of a deal

#1 Post by Dirk Heinrich »

I cannot believe that I was thinking about it for maybe 2 years till I got to do it. Well, it helps that the car is being prepared for a paint job.

Took me about 2 hours to
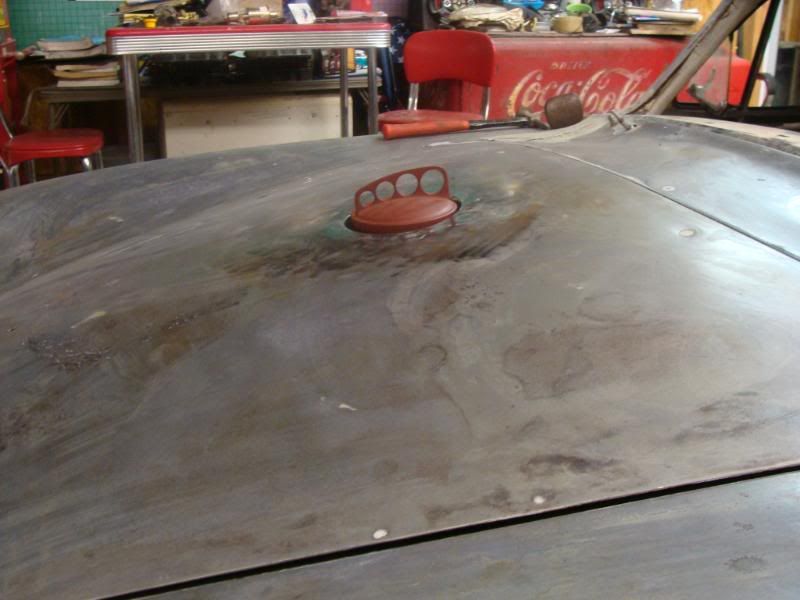
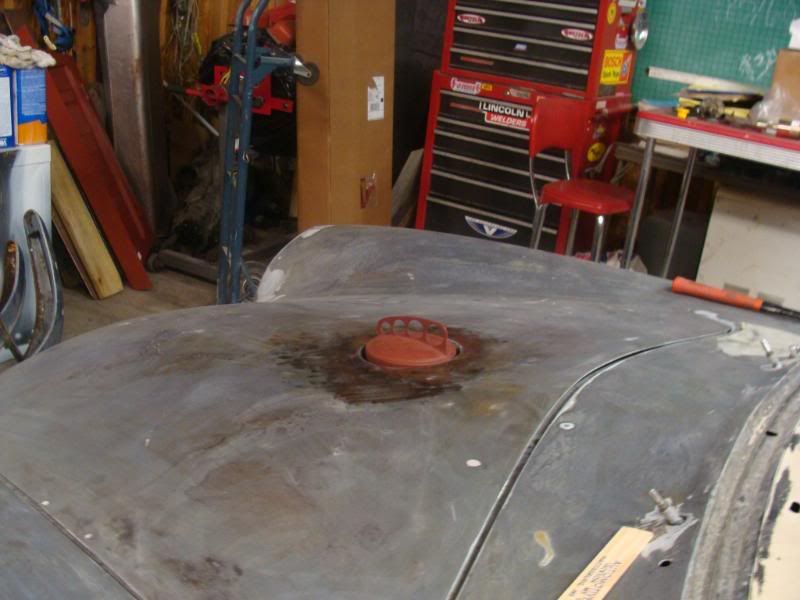
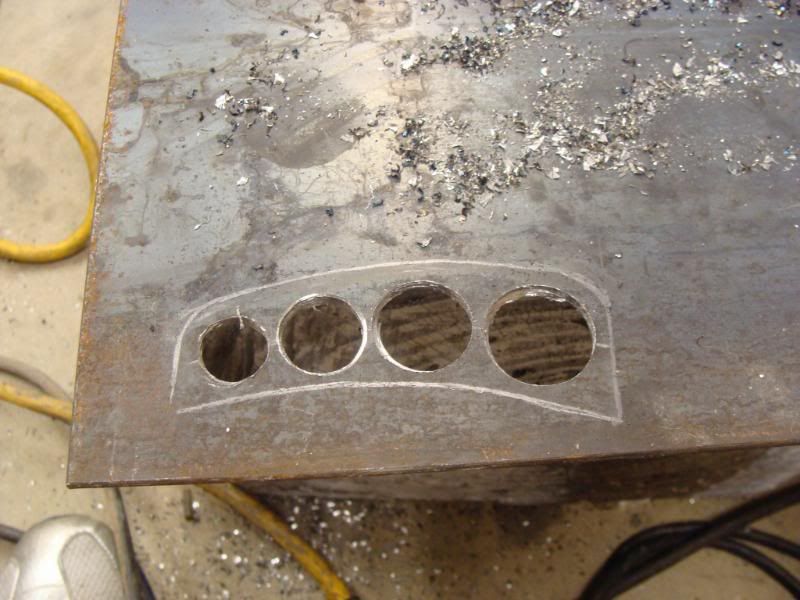
a) find the sweet spot
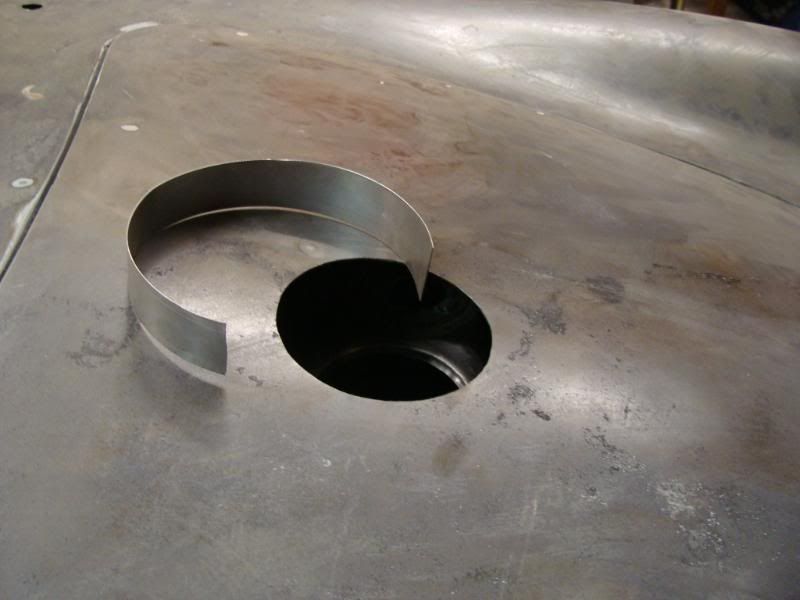
b) cut the hole with a JigSaw
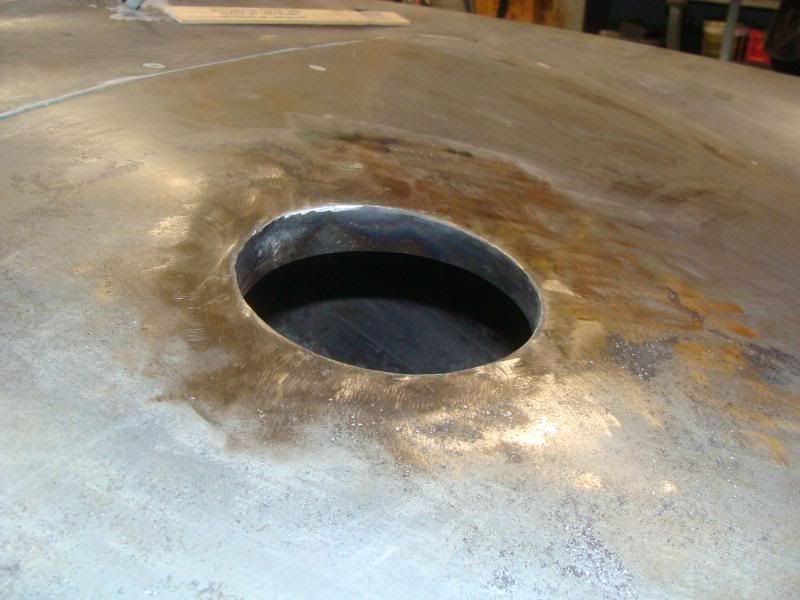
c) create the lip at the perimeter of the hole.

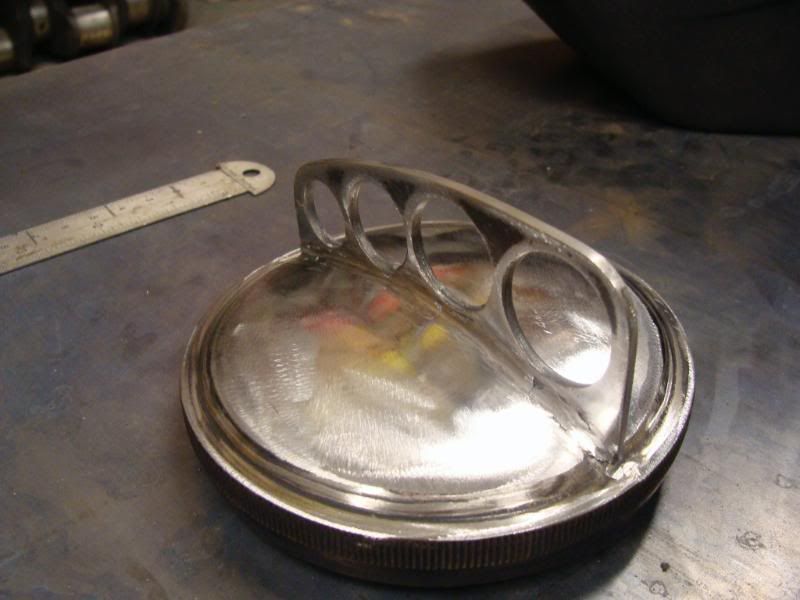
The key was to use/find a round steel piece with the correct diameter, the rest the dolly did.

I guess if you think about one thing forever, you might think it more complicated than it actually is.


Image
Image

User avatar
mikeschramm
356 Fan
Posts: 200
Joined: Tue Mar 24, 2009 1:04 pm
Location: central and south Mississippi

#2 Post by mikeschramm »

Car is looking great Dirk!

User avatar
Dirk Heinrich
356 Fan
Posts: 571
Joined: Wed Sep 03, 2008 12:44 am
Location: Pasadena, CA

#3 Post by Dirk Heinrich »

Thank you Mike - just wish, I could finely drive it.

Here is a pic of the tools I used for the lip on the filler hole:

Image

Marek Lappok
356 Fan
Posts: 3
Joined: Sun May 23, 2010 10:47 am
Location: Copenhagen Denmark

#4 Post by Marek Lappok »

Hi Dirk

Or you could simply buy my kit

http://www.early911sregistry.org/forum/ ... hp?t=34130

and you be trouble free

Regards :wink:

M
Regards

Marek

User avatar
Dirk Heinrich
356 Fan
Posts: 571
Joined: Wed Sep 03, 2008 12:44 am
Location: Pasadena, CA

#5 Post by Dirk Heinrich »

Marek, I like your kit and have noticed it before - you really did a great job.

2 things come to mind:
- re welding: I do some welding, but a nice seam-weld creates a quite some heat - I'd be scared to have warping issues
- shape: the A hood is dome shaped - your piece seems flat !?
- my way of doing it only took 2 hours ;)

Do you just sell the filler neck - I might be interested. How much?

Thx

Marek Lappok wrote:Hi Dirk

Or you could simply buy my kit

http://www.early911sregistry.org/forum/ ... hp?t=34130

and you be trouble free

Regards :wink:

M

User avatar
mikeschramm
356 Fan
Posts: 200
Joined: Tue Mar 24, 2009 1:04 pm
Location: central and south Mississippi

#6 Post by mikeschramm »

I did mine a little different as well. It did involve welding...i just used low heat and some heat shield paste/gel. I welded on a somewhat large lip so that it fits deep down into the rain tray to keep me from having a rubber seal.
Image
Image
Image
Image
Image

User avatar
Dirk Heinrich
356 Fan
Posts: 571
Joined: Wed Sep 03, 2008 12:44 am
Location: Pasadena, CA

#7 Post by Dirk Heinrich »

Nice, bold solution Mike! How did the underside come out?
I assume the hood closes without the sleeve rubbing on the filler cap!?
I like how your cap sits. I went into my garage this morning and confirmed again that it does not have to be angled to the hood or flush with the hood - it looks good just straight up (looks more old-school).

User avatar
mikeschramm
356 Fan
Posts: 200
Joined: Tue Mar 24, 2009 1:04 pm
Location: central and south Mississippi

#8 Post by mikeschramm »

Of course it does not rub :!:

Fin is kinda large on mine..... but I like it that way
Image
Image
Image
Image
Image

User avatar
Dirk Heinrich
356 Fan
Posts: 571
Joined: Wed Sep 03, 2008 12:44 am
Location: Pasadena, CA

#9 Post by Dirk Heinrich »

next step ahead - longer neck on the fuel tank:

Image

I didn't want the cap to slant or to be flush with the hood - this is a more old school look for me. I had to have the neck about 2 1/4" extended (no welding on fuel tank for me ;) - if anyone here by chance doesn't know 100% what they are doing, don't even think about welding on a tank!).
Still not sure what shape the fin will have (maybe I don't need one) - we'll see.

Guest

Front lid tank filler,

#10 Post by Guest »

If you want to make correct like the Spyder has you need to install an under the trunk lid pan that cathces all the spilled fuel and drains it outside.

Alan

User avatar
Mike Klapac
356 Fan
Posts: 690
Joined: Thu Apr 03, 2008 12:41 pm

#11 Post by Mike Klapac »

For some reason, when I look at Mike's cap fin I think of brass knuckles. That would be kinda cool on a real beater outlaw.

User avatar
mikeschramm
356 Fan
Posts: 200
Joined: Tue Mar 24, 2009 1:04 pm
Location: central and south Mississippi

#12 Post by mikeschramm »

Mike Klapac wrote:For some reason, when I look at Mike's cap fin I think of brass knuckles. That would be kinda cool on a real beater outlaw.

HECK YEAH :!: That was the idea :wink:

User avatar
Dirk Heinrich
356 Fan
Posts: 571
Joined: Wed Sep 03, 2008 12:44 am
Location: Pasadena, CA

#13 Post by Dirk Heinrich »

Here is a historic picture of the filler cap position how I like it. I think if you have a close look, you can see, that it is not flush with the hood and neither aligned with the hood's angle (as you so often see it now). It simply sits flat on a straight up neck.


Image

User avatar
Dirk Heinrich
356 Fan
Posts: 571
Joined: Wed Sep 03, 2008 12:44 am
Location: Pasadena, CA

Re: Filler through the hood - not so big of a deal

#14 Post by Dirk Heinrich »

So, I got the tray from Marek's kit (thx for the trade Marek). It's a nice piece, but unfortunately doesn't fit. The little funnel for the water drain makes it sit way to high up on the tank. The only solution is to either bent the funnel or to cut it - neither is a good solution: risk of braking, bending and/or kinking the hose, 'cause it'll still be very close to the tank. I asked Marek about it, but have never received an answer. Too bad - could have been a real nice product.
Tray_No_Fit.JPG
Tray_No_Fit.JPG (81.94 KiB) Viewed 7203 times
re pic: keep in mind, when it is lifted in the back, the funnel gets closer to the neck and pushes up even higher. Also, attaching the hose, there will be way more clearance needed.

User avatar
Wray Brady
356 Fan
Posts: 21
Joined: Mon Dec 28, 2009 9:23 pm

Re: Filler through the hood - not so big of a deal

#15 Post by Wray Brady »

Dirk, here is a shot of the cap and hood on my outlaw. You can see that some material was removed from the front edge to allow the hood to close. in the backgound is a restored chassis for a TR4. Body is at apinter and will be for some time.
Attachments
IMG00014-20101024-1822.jpg
Wray Brady

Post Reply